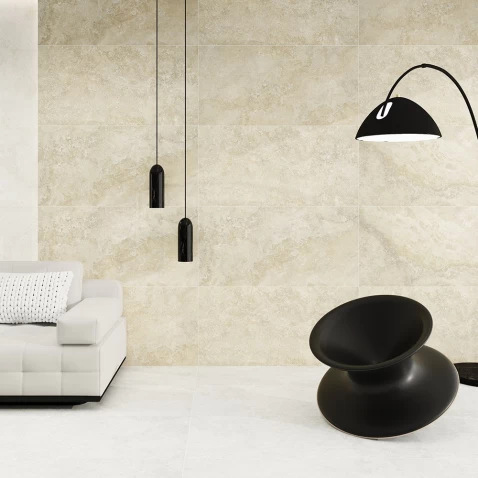
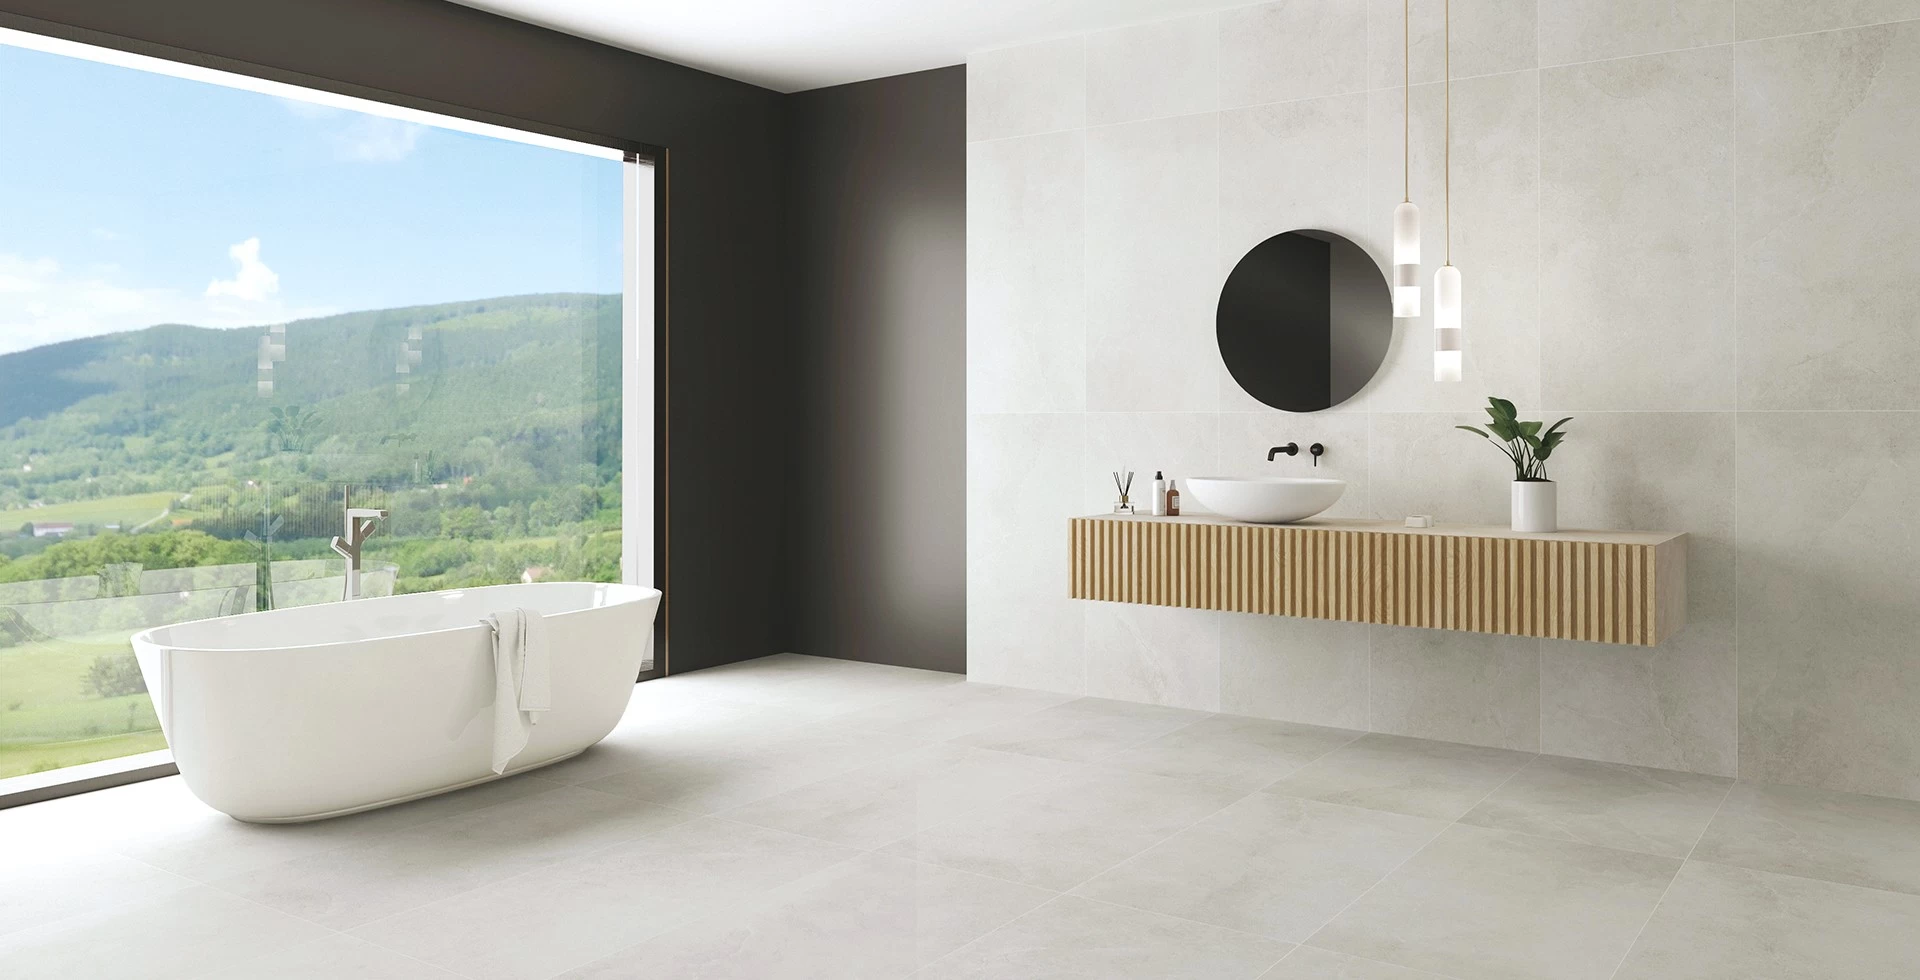
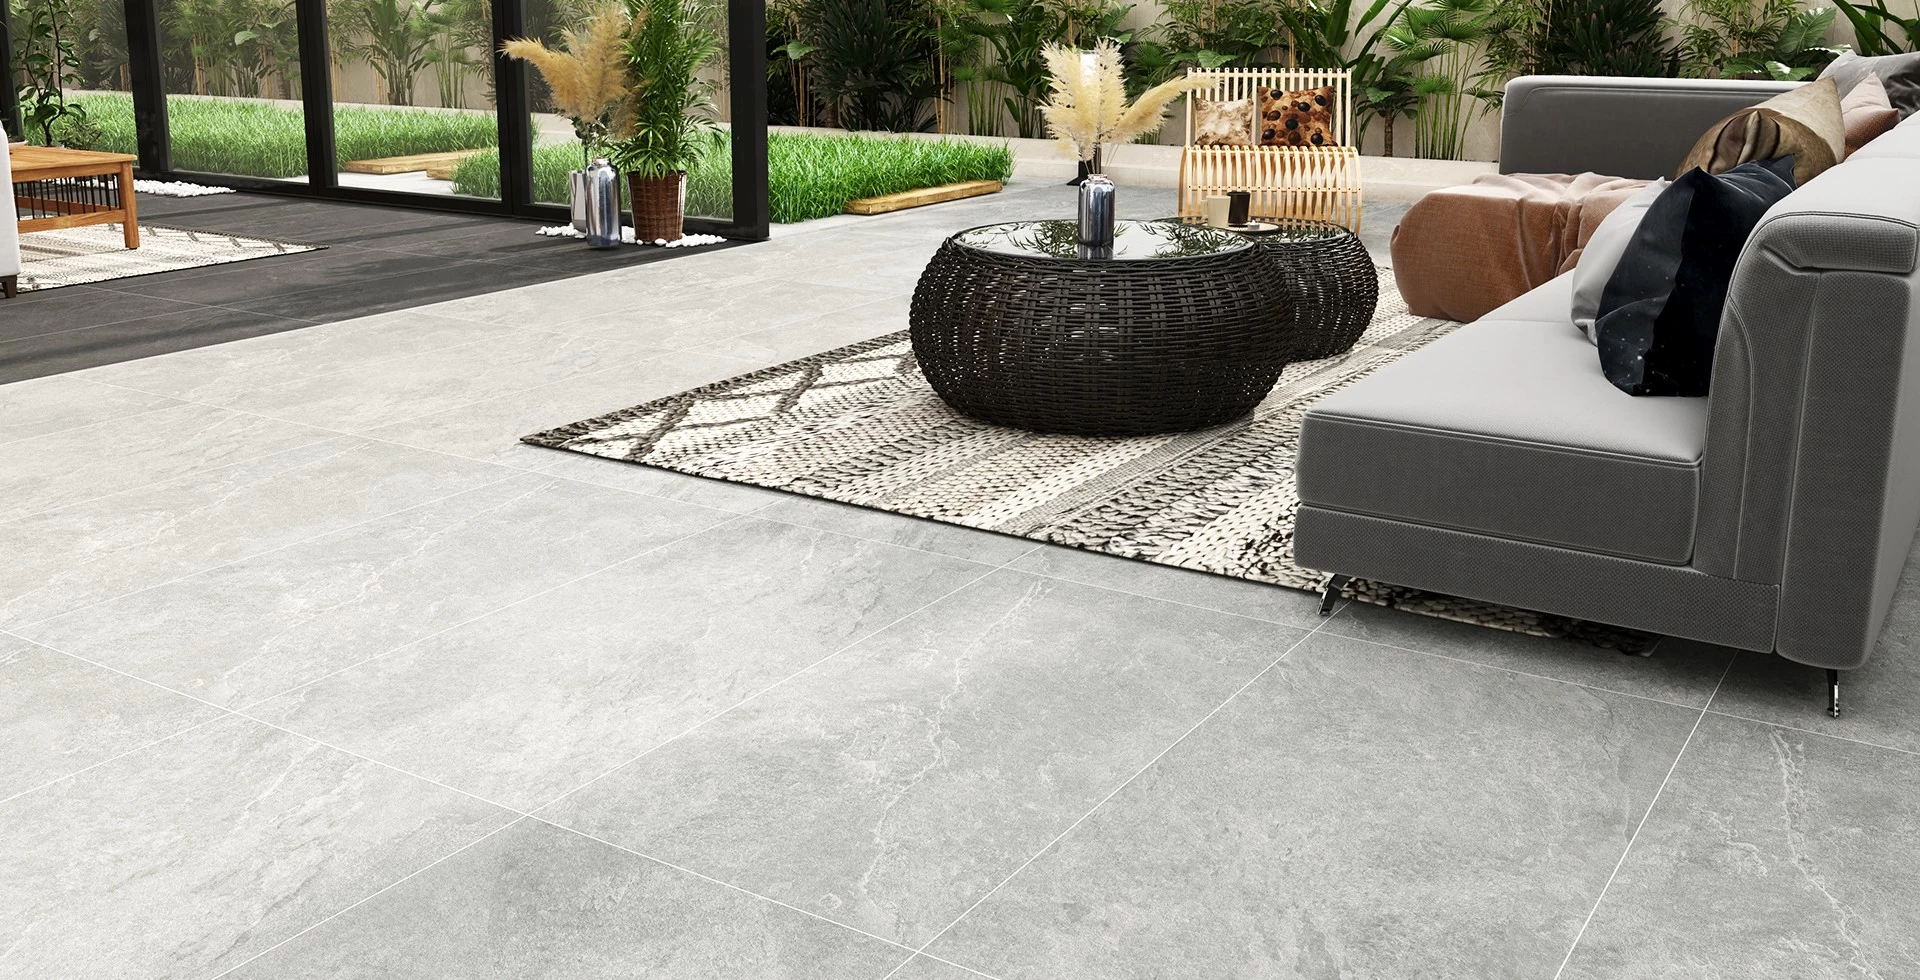
Porcelain tiles: made from natural materials like clay, feldspar, kaolin, and sand. During firing, the mix vitrifies, or becomes glass-like, due to the high temperatures. This process makes porcelain tiles less porous than ceramic tiles, making them more suitable for wet environments.
Porcelain tiles are classified by water absorption into four categories, based on their density:
Non-vitreous (low density)
Tiles with a water absorption rate of 7–20%. These tiles should be used indoors on walls to avoid damage.
Semi-vitreous (medium density)
Tiles with a water absorption rate of 3–7%. These tiles should also be used indoors.
Vitreous (high density)
Tiles with a water absorption rate of 0.5–3%. These tiles can be used indoors or outdoors.
Impervious (extremely dense)
Tiles with a water absorption rate of 0.5% or less. These tiles can be used almost anywhere, indoors or outdoors.
Preparation:
Subfloor: Ensure the subfloor is clean, dry, and level. Repair any damage and use a cement backer board if necessary.
Layout: Plan your tile layout by measuring and marking the center of the room to establish a reference point. Dry lay a few tiles to see how they fit.
Applying Thinset:
Mix Thinset: Follow the manufacturer’s instructions to mix thinset mortar.
Apply Thinset: Use a notched trowel to spread a thin layer of thinset on a small section of the subfloor. Comb the thinset with the notched side of the trowel to create ridges.
Laying Tiles:
Place Tiles: Press each tile firmly into the thinset and wiggle it slightly to ensure good adhesion. Use tile spacers between tiles to maintain even gaps.
Check Level: Use a tile levelling system to ensure the tiles are even. Adjust as necessary while the thinset is still wet.
Cutting Tiles:
Measure and Cut: Measure the space where the tile needs to fit and use a tile cutter or a wet saw to cut tiles as needed.
Grouting:
Let Thinset Cure: Allow the thinset to cure for the time recommended by the manufacturer, typically 24 hours.
Mix Grout: Prepare the grout according to the manufacturer’s instructions.
Apply Grout: Use a rubber grout float to spread grout over the tiles, pressing it into the gaps. Remove excess grout from the surface.
Clean Excess: Wipe off excess grout with a damp sponge before it dries, rinsing the sponge frequently with clean water.
Final Touches:
Clean: Clean the tiles thoroughly using purpose made tile cleaners to remove any grout haze or stains.
Install Trim: Add any baseboards or trim if needed.
Ensure you follow all safety guidelines and manufacturer instructions throughout the process.
After the tile is laid, do not rush to step on it, because the cement mortar has not reach the required hardness. If its absolutely necessary, you may step on the center point of the tile, not the edge and corner, otherwise, it is very easy to cause the tile to dislodge, misalign or cause a hollow point.
1. Use purpose made tile cleaners to clean, avoid using detergent containing acid, alkali, chlorine, and other chemicals so as not to cause damage to the surface of the tile.
2. If there are stains or dirt on the surface of the tile, you can use a slightly wet rag or sponge with neutral detergent to wipe, avoid using hard objects or sharp objects to scratch the surface.
3. Avoid the use of strong acid or alkali detergent, so as not to cause damage and discoloration on the surface of the tile.